A large proportion of flat scans begins not in the scanner, but at the moment the shutter closes. Color negative film handles overexposure much better than a digital sensor, yet many photographers carry over digital habits, metering to protect highlights as if film behaved like a digital sensor.
This mindset produces negatives with weak shadows, giving the scanner too little information to render deep blacks and well-defined mid-tones. When a negative’s shadows are too weak, the scanner must amplify them, which increases grain and noise and compresses tonal separation, resulting in muddy blacks and washed-out mid-tones. Chemically thin negatives also force the scanner to stretch its tonal curve, which further flattens mid-tones and reduces overall punch.
The solution begins with exposure: meter for the shadows, allow highlights some generosity and expose toward the denser end of the film’s latitude. Feeding the shadows deliberately gives the scanner real, physical information, creating enough density variation for the scanner to capture subtle differences in mid-tones and shadows. When these areas are properly exposed, the scanner can render smooth tonal transitions, saturated colors and a better sense of depth.
In short, treating film like digital almost always leads to flat scans, but when prioritising shadow information and respecting film’s nonlinear response, it gives the scanner the data it needs to produce dimensional and vibrant images.

Low density negative on the left, correctly exposed negative on the right.
Scanner profiles and aesthetic mismatch
Even when a negative is properly exposed, a scan can still appear flat if the lab’s scanner profile does not match the photographer’s aesthetic and expectations. Scanners do not simply copy the negative; they interpret it using predefined tonal curves and color settings. Some systems are calibrated to produce stronger contrast, deeper shadows and more saturated color, while others prioritise neutrality and smoothness.
When a neutral scanning profile is applied to a negative that already has modest density or to a photographer who expects a richer and more expressive result, the final image can easily feel dull or lifeless despite the quality of the original exposure. Beyond the hardware, scanning profiles and lab automation matter. Some labs deliberately scan in a very neutral way to ensure that no highlight or shadow detail is clipped. While this approach preserves all the usable information in the negative, it often produces files with low contrast and muted mid-tones which makes the image appear flat. Communicating preferences, providing reference files and requesting a particular scanner or profile can therefore produce dramatic differences.

Frontier on the left, Noritsu on the right: different scan renderings. Photographed by Jan Scholz.
When automatic adjustments reduce contrast and color
Automation simplifies high-volume workflows, but it has aesthetic consequences. Lab auto-corrections often aim for a balanced histogram rather than an expressive tonal curve, brightening shadows, compressing highlights and neutralising mid-tones to satisfy objective metrics. When an automated routine interprets a creative choice as an aberration it will pull the tonal curve back toward a midpoint and this corrective smoothing removes the micro-contrast and color saturation that make film images so unique. For photographers who want to preserve the natural look of their film, the best choice is often to request minimal corrections or a straight scan from the lab.
At Club 35, this principle is at the heart of our process: we always work from the native files generated directly by the scanner, in order to have all the information contained in the negative. This method restores the full dynamic range and gives us the possibility to create colorimetry consistent with the photographer's intention, whether it is to enhance the natural characteristics of the film or to respect their personal vision. Working directly on the native file offers more data, ensuring that contrast, color separation and tonal depth are preserved and optimized, without having to guess what has been lost by automatic corrections.

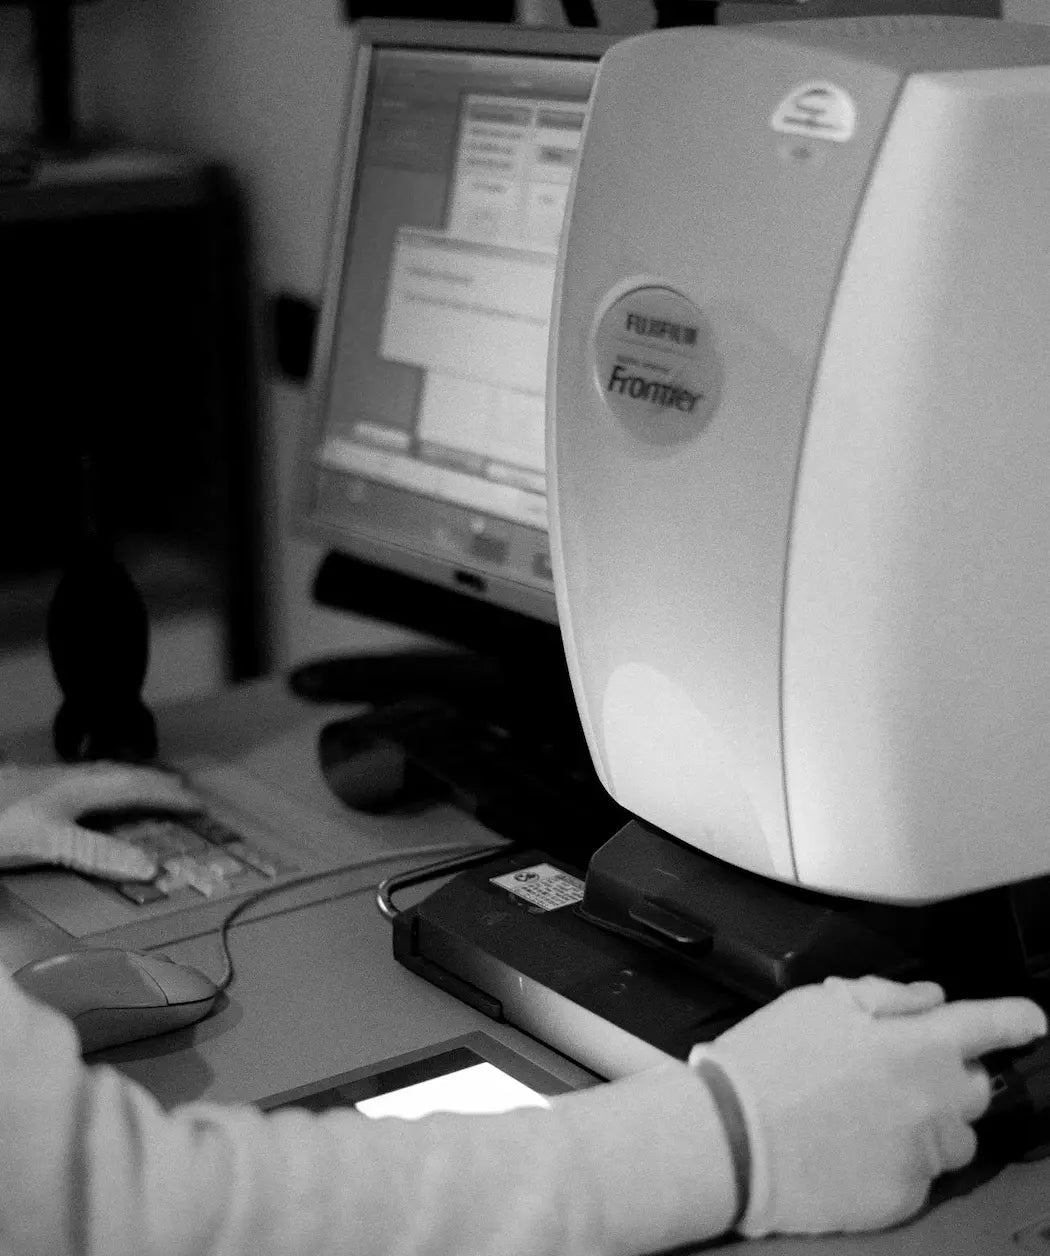
Manual workflow on Frontier scanner.
The role of the color profile
A color profile is a practical tool that controls how the scanner translates the physical information on the negative into the images we see on screen or in print. A custom color profile matches the scanner’s raw output to the photographer’s preferred colors and tones, ensuring that contrast, saturation and overall color balance remains consistent from roll to roll.
By starting with a well-calibrated profile, photographers can achieve reliable film photo contrast and true-to-life colors without relying on guesswork or excessive post-processing. Automatic calibration routines attempt to generalise across stocks and lighting, which sacrifices accuracy and therefore aesthetic control. Manual calibration, which involves adjusting the scanner based on reference images and client notes, produces consistent and predictable results.
In practice, this means the photographer receives scans that only need subtle retouching rather than extensive correction. When a lab returns a flat or gray scan, the labor of repairing color and contrast is often impossible without compromising image quality because information has already been lost in the translation. Direct access to raw scanner output, combined with a bespoke profile, is thus the technical foundation for beautiful colors.
For photographers who receive flat or gray files from their lab, an individualised color profile should be the next step towards vibrant, balanced color without destructive post-processing.

Developed and scanned by Club 35 laboratory. Photographed by Manon Lheureux and Serena Lutton.
Manual calibration versus automatic calibration
Automatic calibration can be useful in certain workflows as it is fast and consistent, and for many purposes, it produces acceptable results. The downside is that it applies the same settings to every roll of film, treating all negatives the same way, sometimes erasing the unique qualities of each roll.
Manual calibration involves carefully adjusting the scanner’s response to match reference images and the photographer’s personal sense of color. While this process requires more time and labor, it ensures that each roll of film is scanned with accurate color balance, tonal nuance and care.
A custom profile preserves the relationship between highlights and shadows, protects micro-contrast and ensures that the film’s inherent color palette is respected. In practice this means fewer corrective edits, more faithful prints and a workflow where negative scan retouching becomes refinement rather than a full rescue.

Automated flat scan on the left, scan with Club 35 manual color profile on the right. Photographed by Agathe Karsenti.
Flat scans usually result from a combination of factors such as exposure choices, type of scanner and software and the extent to which automated processes replace human judgment. Solving the film scanning problem requires careful attention at every stage, with exposing for more shadow density, choosing a lab whose scanner profiles match your aesthetic, and lastly, prioritising manual calibration when accuracy matters.
A color profile is not a mystery, it is just a practical tool. For photographers who care about film photo contrast and who want negative scan retouching to be refinement rather than rescue, the most effective preventive step is a collaboration with a lab that practices manual calibration and supplies reference profiles, reducing the need for further retouching.

